In this post, I’ll guide you through the entire process eyebrow lamination at home. Plus, for those who are more visual learners, I’ve got a YouTube tutorial ready for you to follow along!
This post contains affiliate links. This means if you click on a link and make a purchase I make a small commission. None of the products linked are gifted or sponsored.
One of the trickiest parts of moving to a new country is finding your new favorite beauty spots, especially when you’re in a place like Switzerland where beauty services can cost a fortune! Plus, dealing with a language barrier when booking permanent treatments can be super stressful. That’s why I’m excited to share my latest beauty hack: eyebrow lamination. This game-changing technique gives you fuller, more defined brows by realigning the direction of hair growth and enhancing your natural shape. The best part is, you don’t need to splurge on salon visits to get those gorgeous brows. With the right tools and a bit of practice, you can totally do an eyebrow lamination at home. Trust me, it’s easier than you think and the results are amazing!
Note: I am not a licensed esthetician, and this is simply a product review and tutorial. This is not professional advice. Please do thorough research and consult with a licensed professional if you have any concerns before attempting eyebrow lamination at home.
Table of Contents
- What is an Eyebrow Lamination?
- Benefits of Eyebrow Lamination
- Who Should Consider Eyebrow Lamination?
- Important Tips and Things to Be Careful of with Eyebrow Lamination
- What You’ll Need:
- Step-by-Step Guide
What is an Eyebrow Lamination?
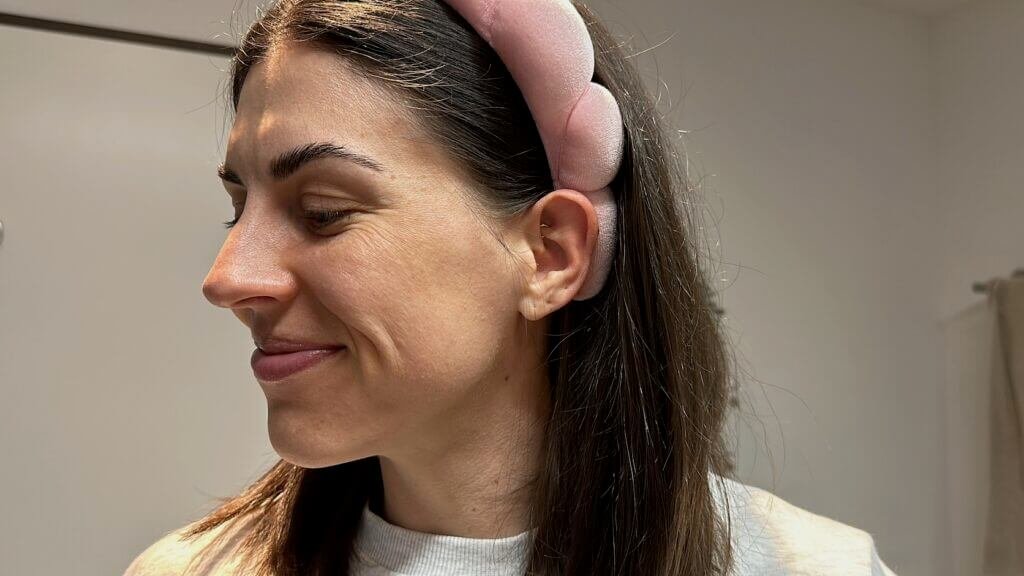
Eyebrow lamination is a beauty treatment designed to enhance the appearance of your eyebrows by creating a fuller, more defined look. This non-invasive procedure involves applying a chemical solution to the brows to straighten and lift the hairs, allowing them to be shaped and set in place. I personally have fairly thing brows that I’ve never really liked, but with a lamination they look full and lift my whole face! I hardly have to spend time doing them anymore which is a game changer. Here’s a breakdown of what eyebrow lamination entails:
- Realignment of Hair Growth: The treatment starts with a special solution that softens the hair, making it more flexible. This allows the technician to brush the brow hairs into the desired position, usually upward and outward to create a fuller look.
- Setting the Shape: Once the hairs are repositioned, a neutralizing solution is applied to set the new shape. This helps the brows maintain their new direction and shape for several weeks.
- Nourishment: Often, a nourishing serum or oil is applied at the end of the process to condition the brow hairs, keeping them healthy and glossy.
Benefits of Eyebrow Lamination
- Fuller Appearance: It’s perfect for those with thin or unruly eyebrows, as it makes the brows look fuller and more uniform.
- Defined Shape: It enhances the natural shape of your brows, giving them a more polished and groomed appearance.
- Low Maintenance: The results can last for up to 6-8 weeks, making it a low-maintenance option for keeping your brows in check.

This is my before and after! I had laminated my eyebrow about 6 weeks prior and this is how they lasted.
Who Should Consider Eyebrow Lamination?
- People with sparse or uneven brows looking to achieve a fuller look.
- Anyone wanting to streamline their beauty routine and reduce daily brow grooming.
- Individuals looking for a semi-permanent solution to unruly or curly brow hairs.
Important Tips and Things to Be Careful of with Eyebrow Lamination
While eyebrow lamination can give you stunning results, it’s important to take certain precautions to ensure the best outcome and to protect the health of your brows (we don’t want any crispy brows here!):
Pre-Treatment Tips:
- Patch Test: Always perform a patch test 24 hours before the treatment to check for any allergic reactions to the chemicals used.
- Clean Brows: Make sure your eyebrows are clean and free of makeup, oils, and lotions before starting the procedure.
- Protect Your Skin: Make sure you apply a barrier cream or vaseline to the area around your brows so you don’t get any irritation or a potential chemical burn.
During the Treatment:
- Follow Instructions: If you’re doing it at home, carefully follow the instructions provided with your lamination kit to avoid over-processing your brow hairs.
- Avoid Eyes: Take extra care to avoid getting any chemicals in your eyes. If this happens, rinse thoroughly with water and seek medical advice if irritation persists.
Post-Treatment Care:
- Avoid Getting Brows Wet: Keep your brows dry for at least 24 hours after the treatment. This helps the lamination to set properly.
- Moisturize: Use a nourishing serum or oil regularly to keep your brow hairs conditioned and healthy.
- No Makeup: Avoid applying makeup or other products to your brows for at least 24 hours post-treatment to prevent irritation.
Extra Tips:
- Avoid Overuse: Give your brows a break between lamination treatments. Overuse can lead to weakened and damaged brow hairs.
- Watch for Irritation: If you notice any redness, itching, or irritation, stop using the product immediately and consult with a dermatologist.
- Quality Products: Use high-quality lamination kits and products to minimize the risk of adverse reactions.
What You’ll Need:
- Eyebrow lamination kit (Most kits include a lifting cream, neutralizing lotion, nourishing oil, and a glue)
- Y comb or spoolie brush
- Cling film
- Cotton buds
- Cleanser
- Timer
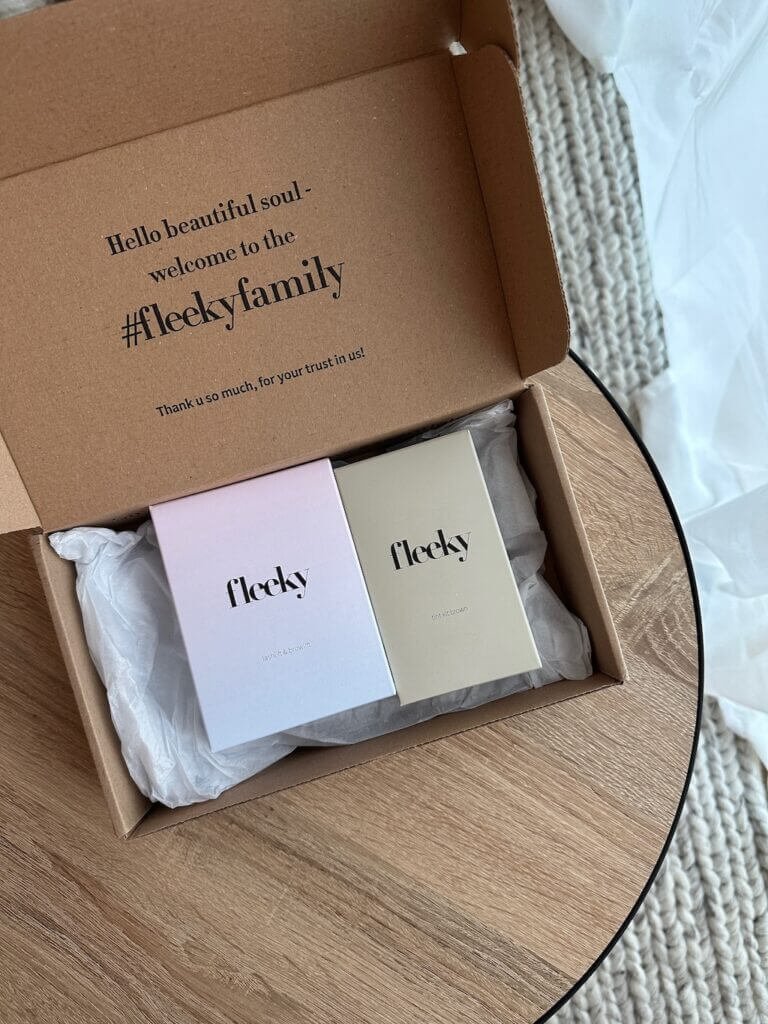
This is the at home eyebrow lamination and tinting kit I’ve used and recommend!
Step-by-Step Guide
1. Patch Test
First things first, always do a patch test. Apply a tiny amount of each product behind your ear or on your inner arm. Follow the instructions for each step (basically pretend like you are lamination your arm hair lol). Wait 24 hours and see if there’s any reaction like redness, itching, or swelling. Better safe than sorry!
2. Prep Your Brows
Start with a fresh, clean face. Use a gentle cleanser to remove any makeup, oils, or dirt from your eyebrows. Pat them dry with a towel to make sure they’re clean and dry. Then go in with your barrier cream or vaseline to protect the hairless skin around your eyebrows (check out my video for exact how I do this!).
3. Apply the Lamination Glue
Grab a spoolie brush and comb your eyebrows in the direction you want them to stay. Apply a thin layer of glue to keep those hairs in place. Remember, how you shape them now is how they’ll set, so take your time to get it just right.
*I talk about this in my video – I’ve laminated my brows both with and without the glue and to be honest I am torn. Sometimes it turns out better with the glue, sometimes it doesn’t. I suggest trying with the glue for your first time.
4. Lifting Cream Application
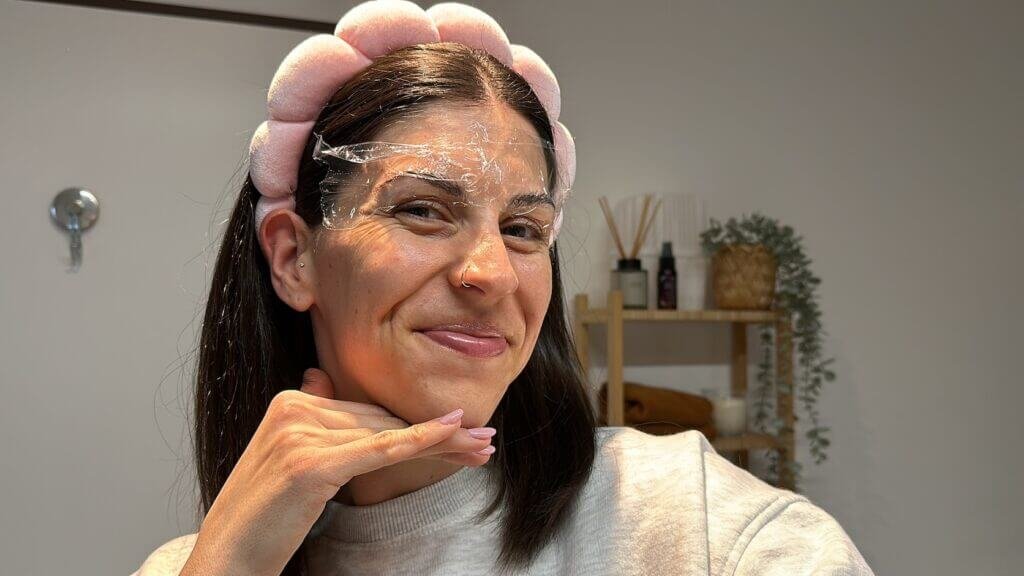
Using a cotton bud or the brush supplied, apply the lifting cream to cover all your brow hairs. Try to avoid getting it on your skin. Then, cover your eyebrows with cling film to hold the cream in place. Leave it on for the time specified in your kit (usually 5-8 minutes).
5. Removing the Lifting Cream
Once the time is up, gently remove the lifting cream with a dry cotton bud or pad. Be thorough but gentle. Gently brush your brows back into your desired shape with a clean spoolie. *It is okay if the vaseline or barrier cream comes off during this part, the neutralizing lotion is much more gentle.
6. Neutralizing Lotion
Apply the neutralizing lotion just like you did with the lifting cream. Cover your brows again with cling film and let it sit for the same amount of time as the lifting cream. Remove the lotion carefully with a damp cotton pad.
7. Nourishing Oil
Finish off by applying a nourishing oil to your eyebrows. This step is crucial as it helps rehydrate and condition your brows after the treatment, keeping them healthy and shiny. *Make sure to use an oil that comes with your kit- otherwise your result might not last!
And that’s it! With just a few simple steps, you can achieve an eyebrow lamination at home. This process not only enhances your natural brows but also saves you time on daily grooming. Remember, the key is to be patient and follow each step carefully. Enjoy your fabulous new look, and happy brow laminating!


Leave a Reply